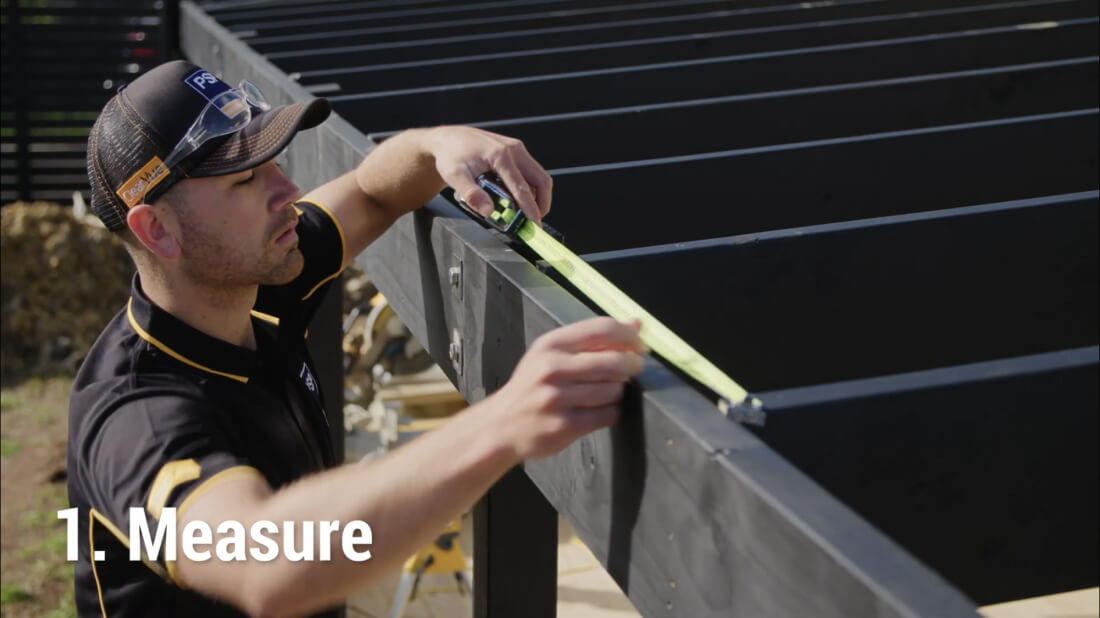
Measure the width of your roofing structure and divide by 600mm, this will give you the amount of Panels, Standard and Edge Glazing Bars required.
If your roofing structure does not divide 600mm evenly, end panels will need to be cut to size and fixed to structure using an Edge Glazing Bar.

Then measure the length of your roofing and cut Standard and Edge Glazing Bars to length. Use a drop saw, circular saw or hand saw.
An overhang of minimum 50mm over the gutter is recommended. Cut Panels on the reverse side to length minus 3mm for every 1 metre of the Glazing Bars to allow expansion and contraction. Use a circular skill saw with a fine-tooth blade.

Pre-drill 5mm holes in the V Groove Channel of the Bottom Glazing Bar at every 600mm centres for rafters and 1200mm for purlins.
We recommend that you fix the Flush End Caps with the screws provided to the Bottom Glazing Bar that will be positioned closest to the house.
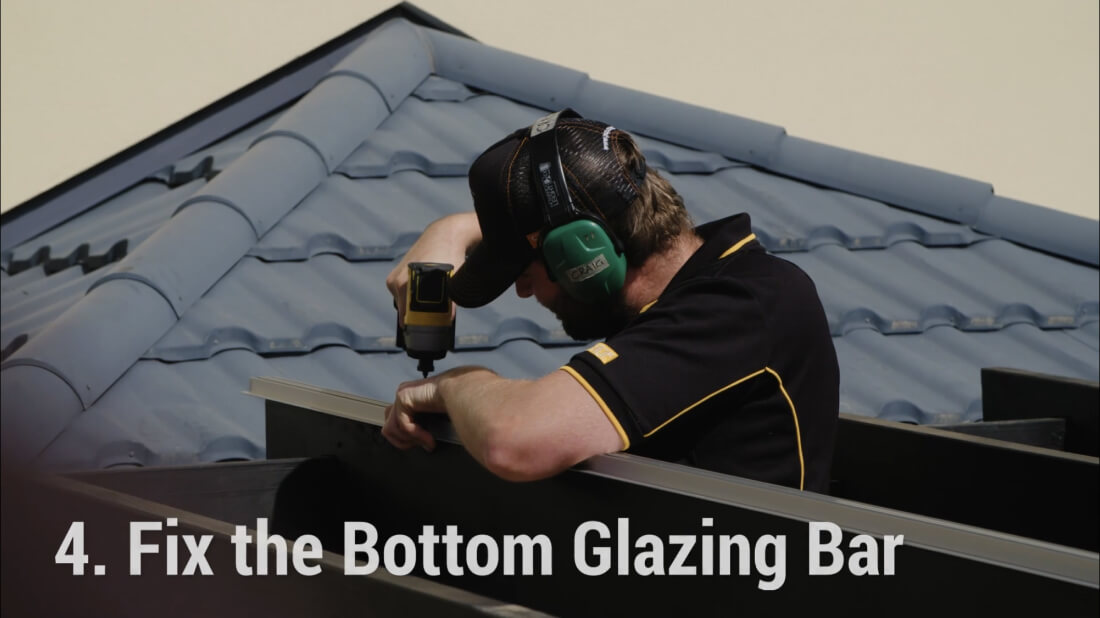
Place the Bottom Glazing Bar at the centre of the structure and fix it using the screws provided. We recommend creating a Spacer Bar Jig at 565mm to easily measure the distance between the Glazing Bars on each rafter or purlin given you a 600 mm centre.
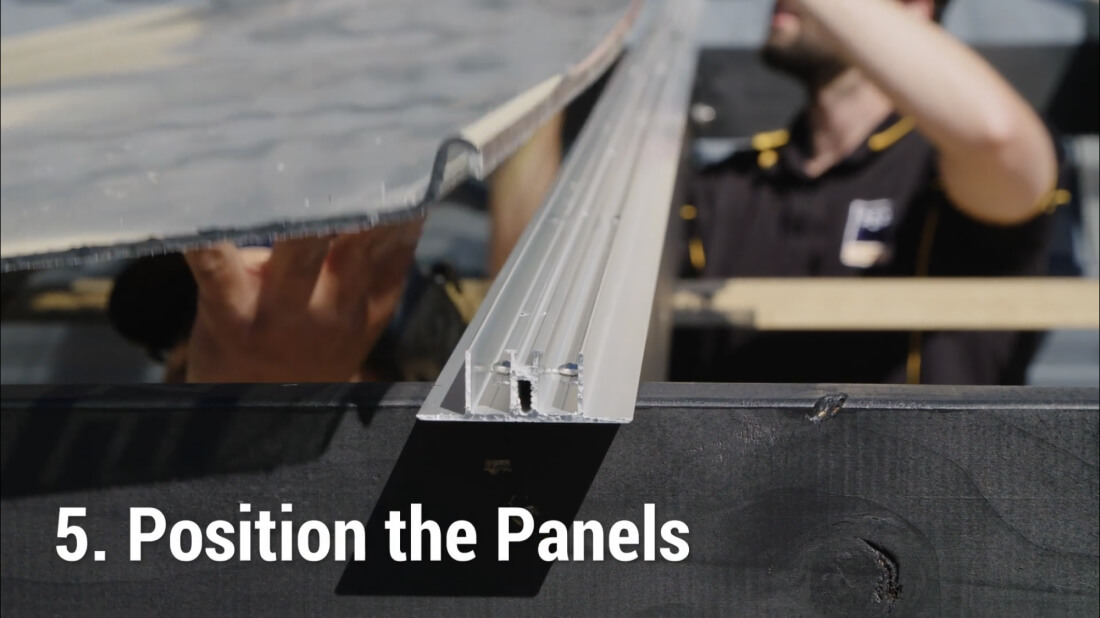
Position the panels between two Bottom Glazing Bars. Make sure the panel is correctly seated along their whole length.
Care must be taken not to scratch the Panels.
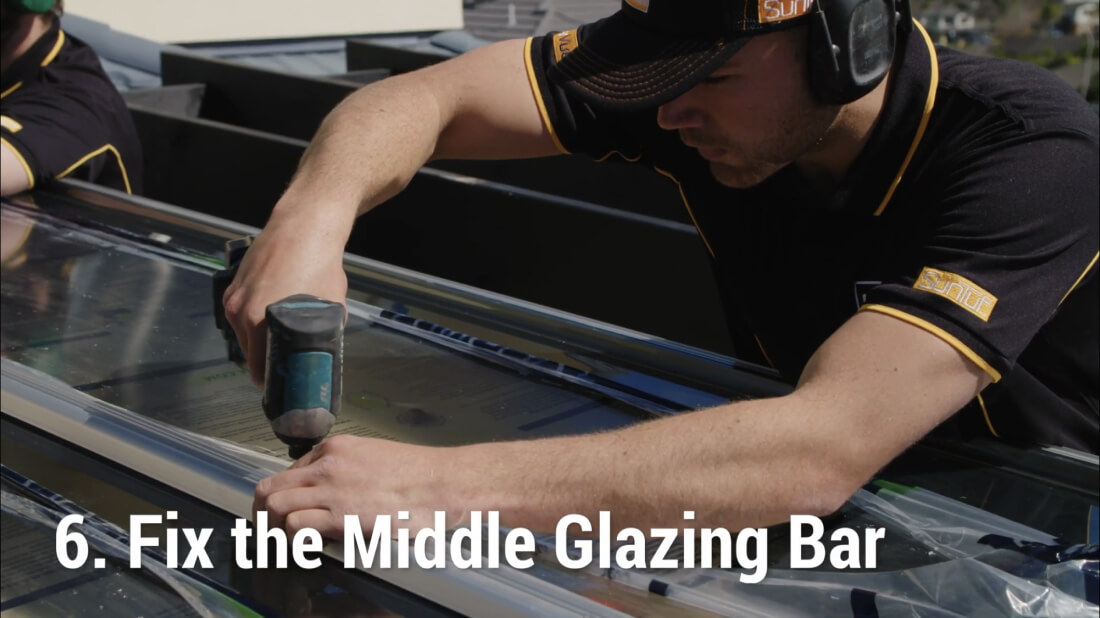
Position Middle Glazing Bar onto the Bottom Glazing Bar and edge of the Panel, then fix with screws provided.
It is recommended to position 2 screws at 80mm apart at the ends and then 300mm in between. Pre-drilling may be required using a 5mm drill bit.
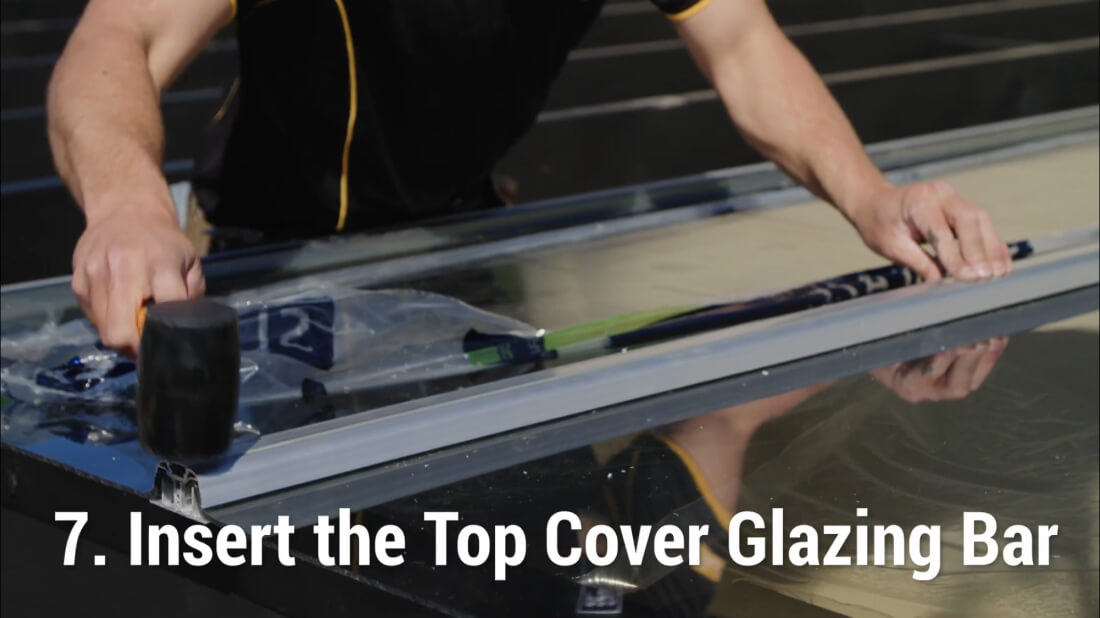
Click Top Cover Glazing Bar into place using a rubber mallet.
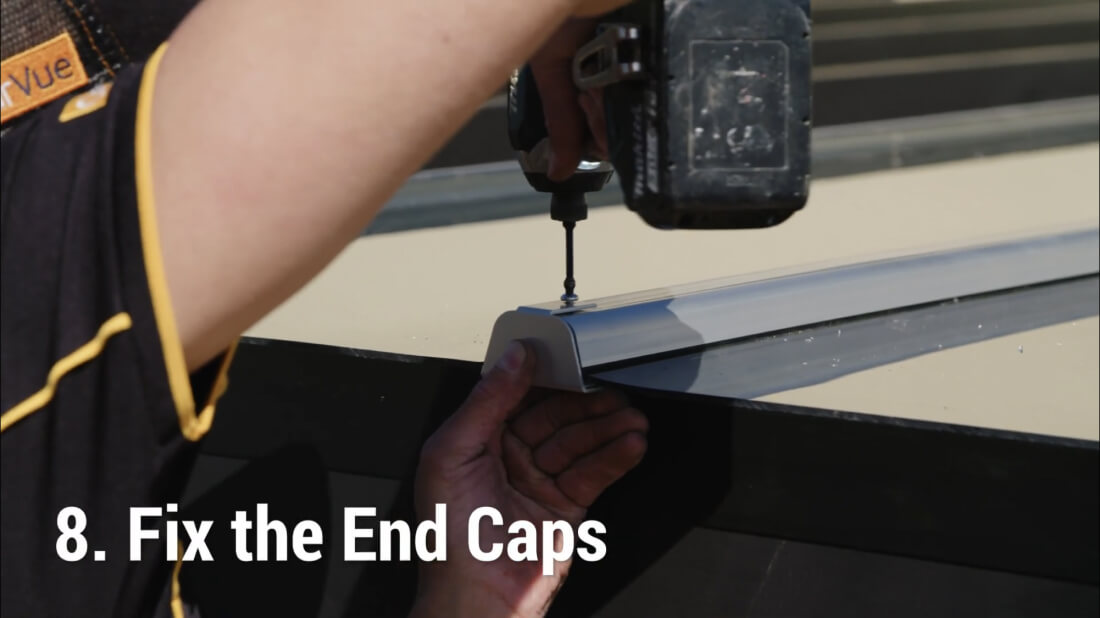
Fix the End Caps at the bottom of the Glazing Bars – Gutter and exposed end using the screws provided.
Pre-drilling a 5mm hole to the Bottom and Middle Glazing Bar may be required.
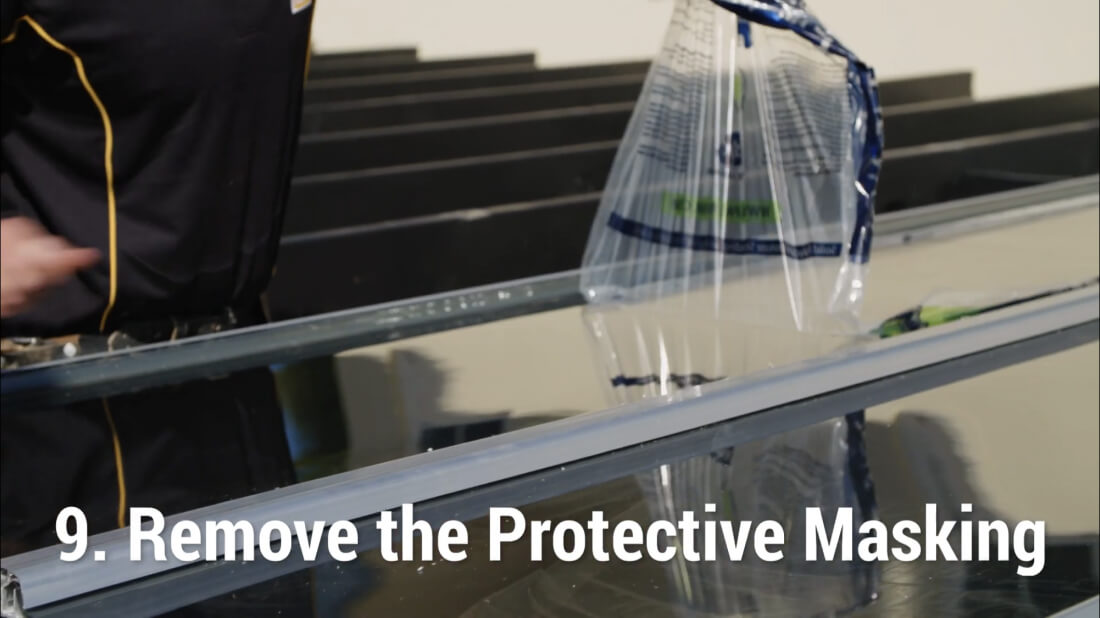
Remove protective masking from the panel shortly after installation.
Delaying the removal process can make it very difficult to remove later.
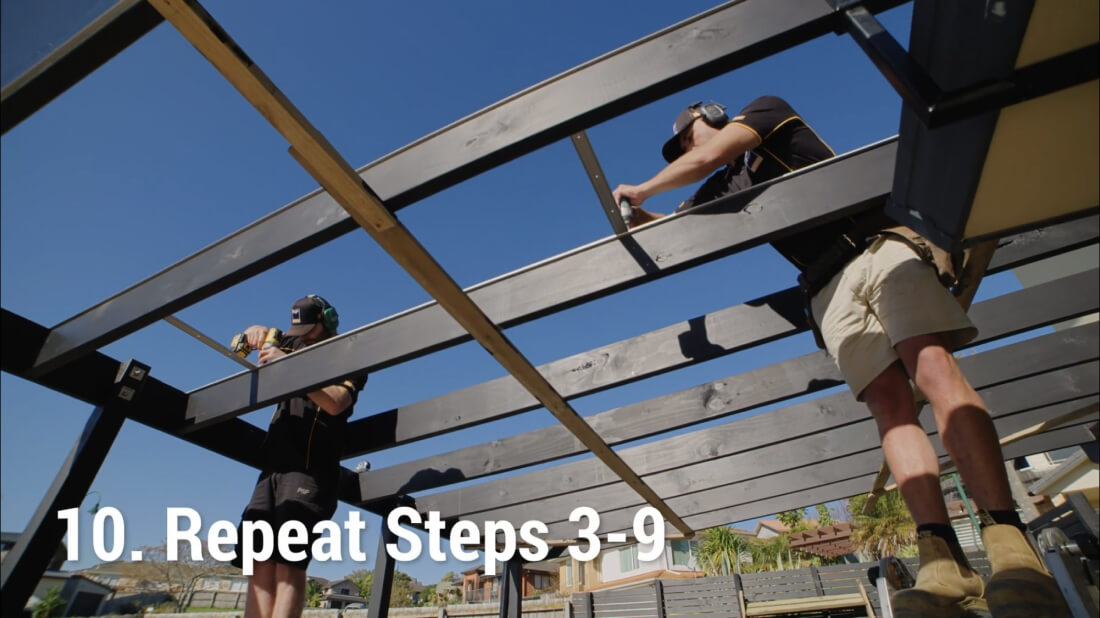
Repeat steps 3 to 9 until you reach the edges of your roofing structure.
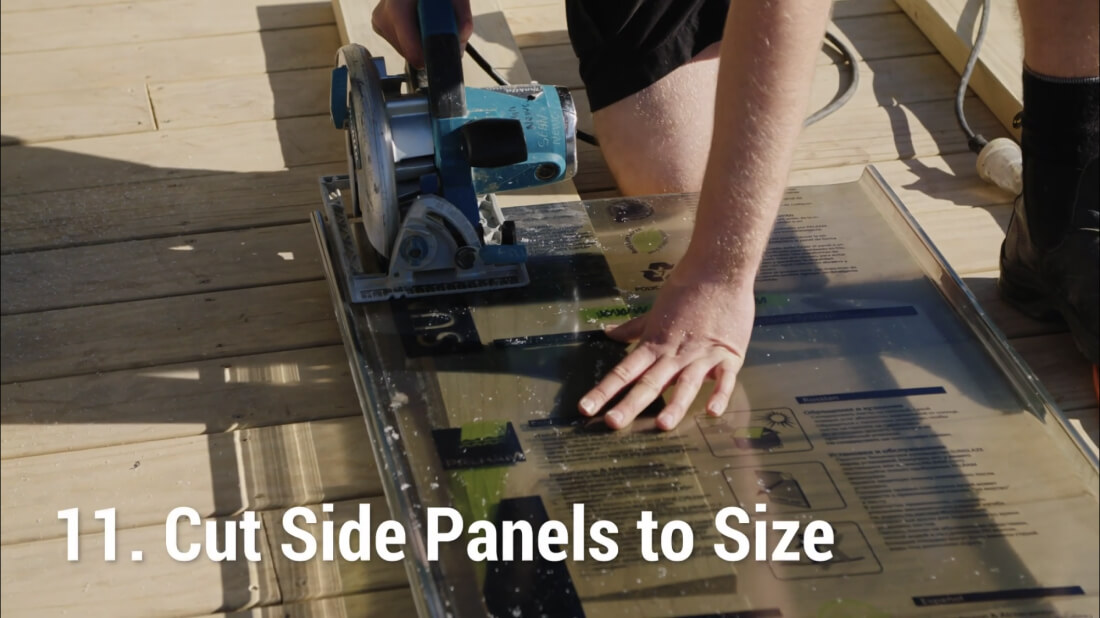
Measure remaining width of the required side panels and cut the Panel along the rip line.
Use a circular skill saw with a fine tooth blade. We recommend doing a trial cut first.
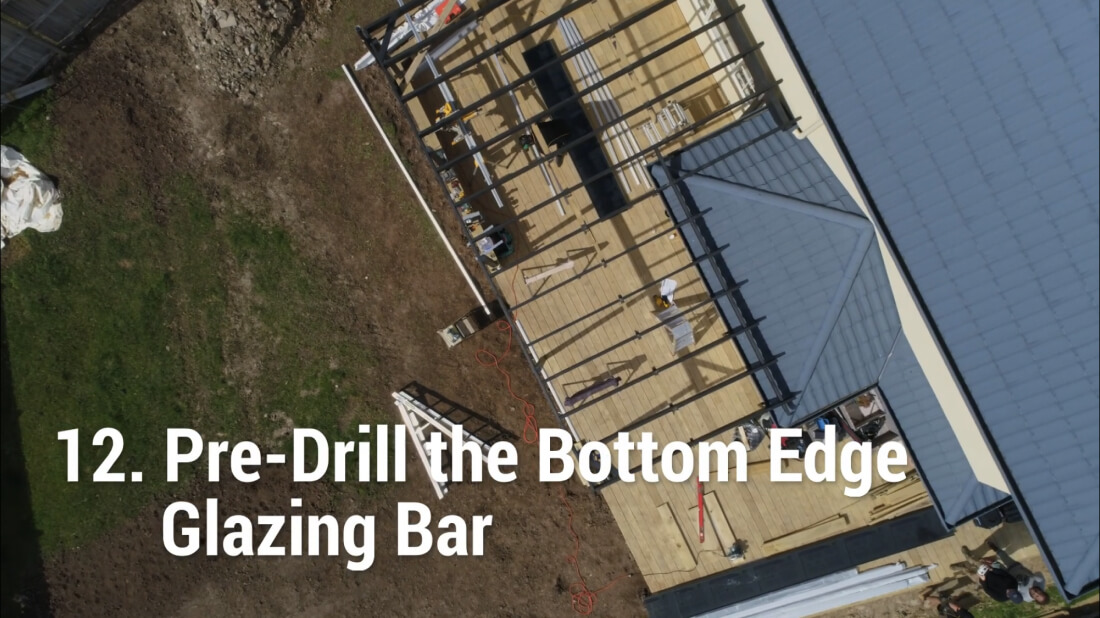
Pre-drill 5mm holes in the V Groove Channel of the Bottom Edge Glazing Bar at every 600mm centres for rafters and 1200mm for purlins.
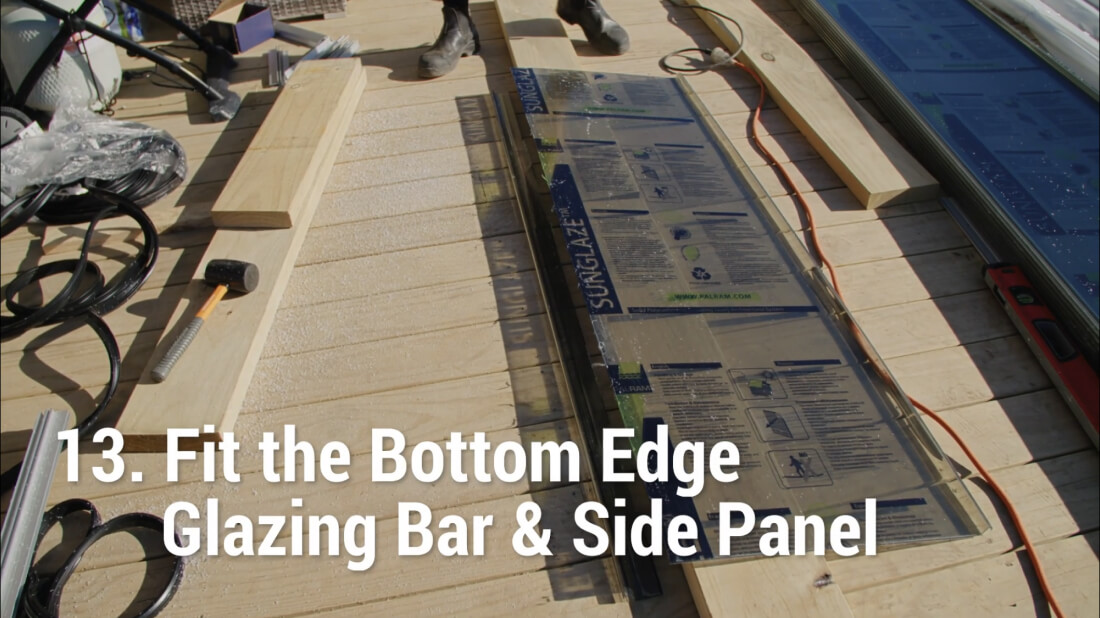
Cut the Glazing Rubber to the length of the Panel and then fit together before inserting into the F Channel.
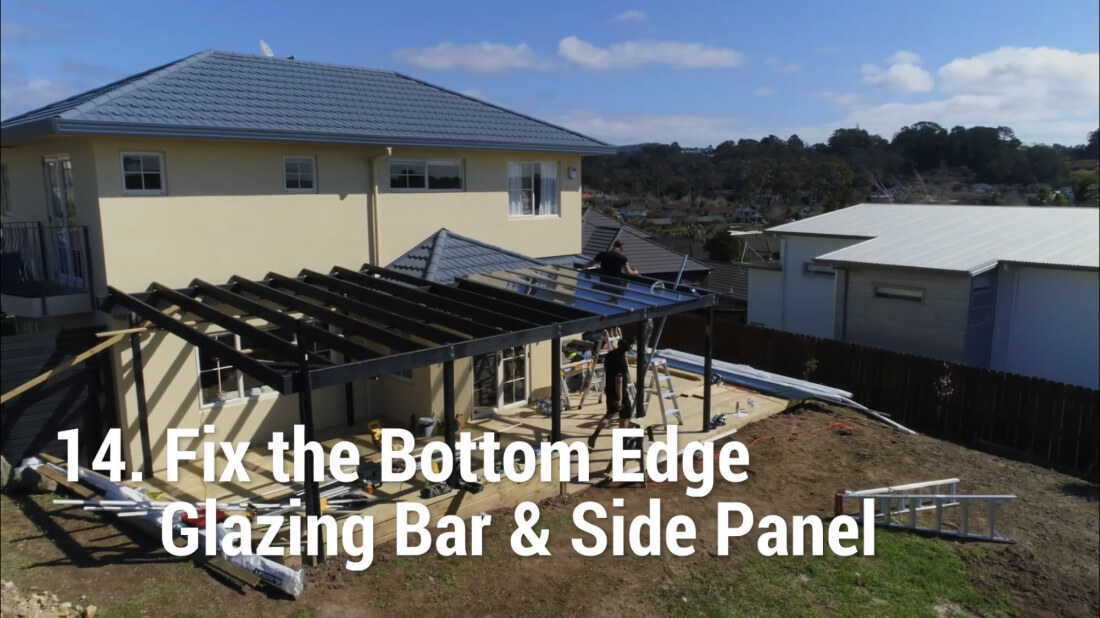
Place the Bottom Edge Glazing Bar along the end of the structure with the Side Panel and fix onto the rafter or purlin using the screws provided.
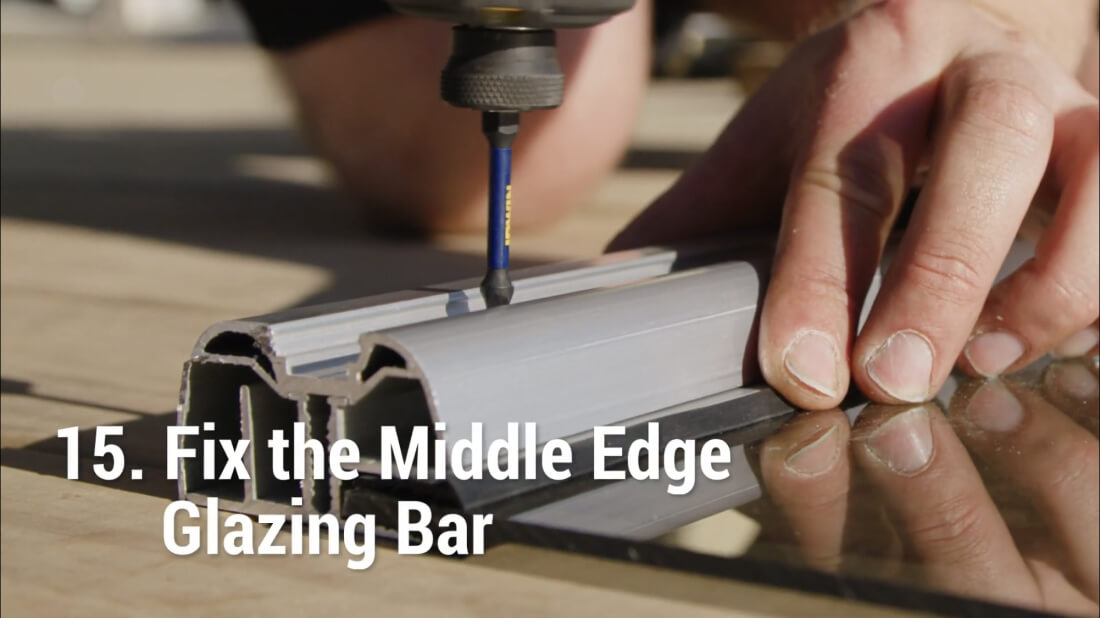
Position the Middle Edge Glazing Bar onto the Bottom Edge Glazing Bar and edge of the Panel and fix with screws provided.
It is recommended to position 2 screws at 80mm apart at the ends then at every 300mm in between. Pre-drilling may be required using a 5mm drill bit.
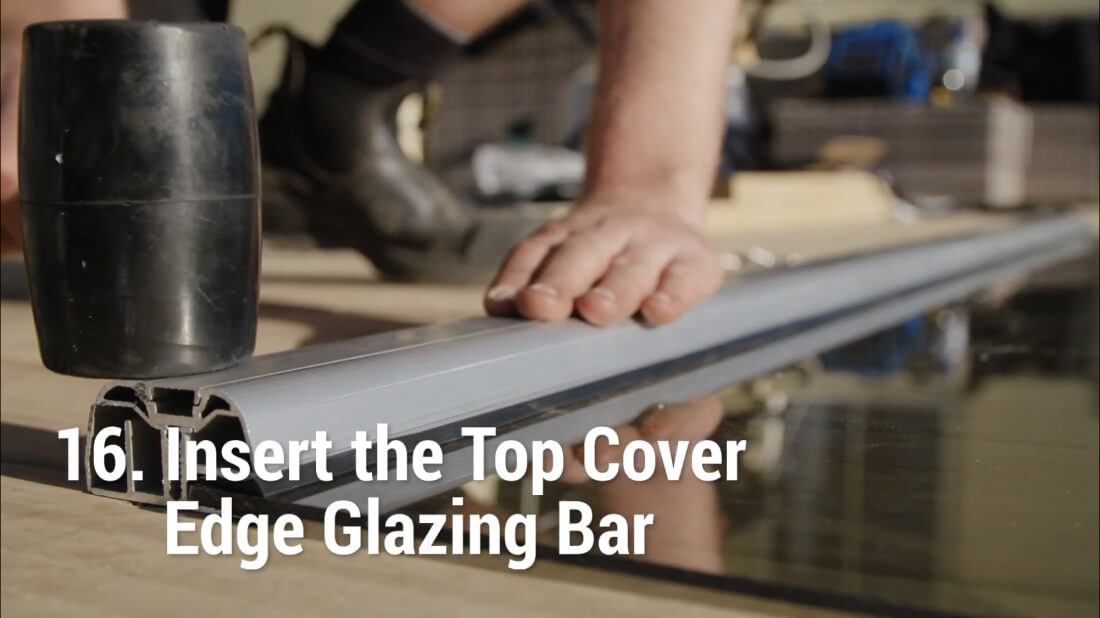
Click Top Cover Edge Glazing Bar into place on the top using a rubber mallet.
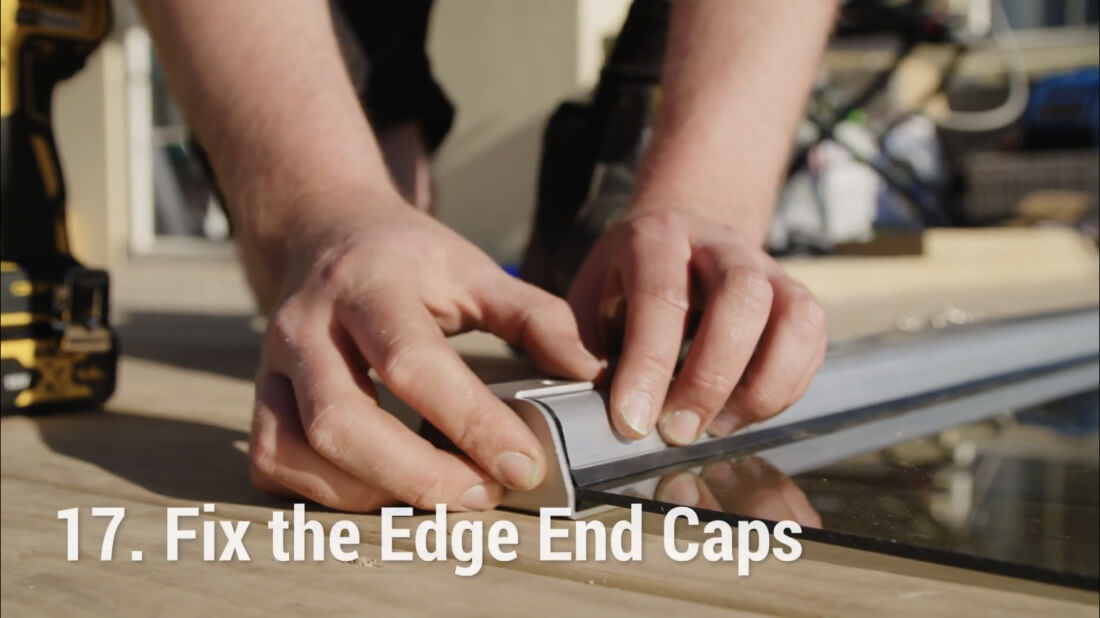
Fix the Edge End Caps at the bottom of the Edge Glazing Bars – Gutter and exposed end using the screws provided.
Pre-drilling a 5mm hole to the Bottom and Middle Edge Glazing Bar may be required.
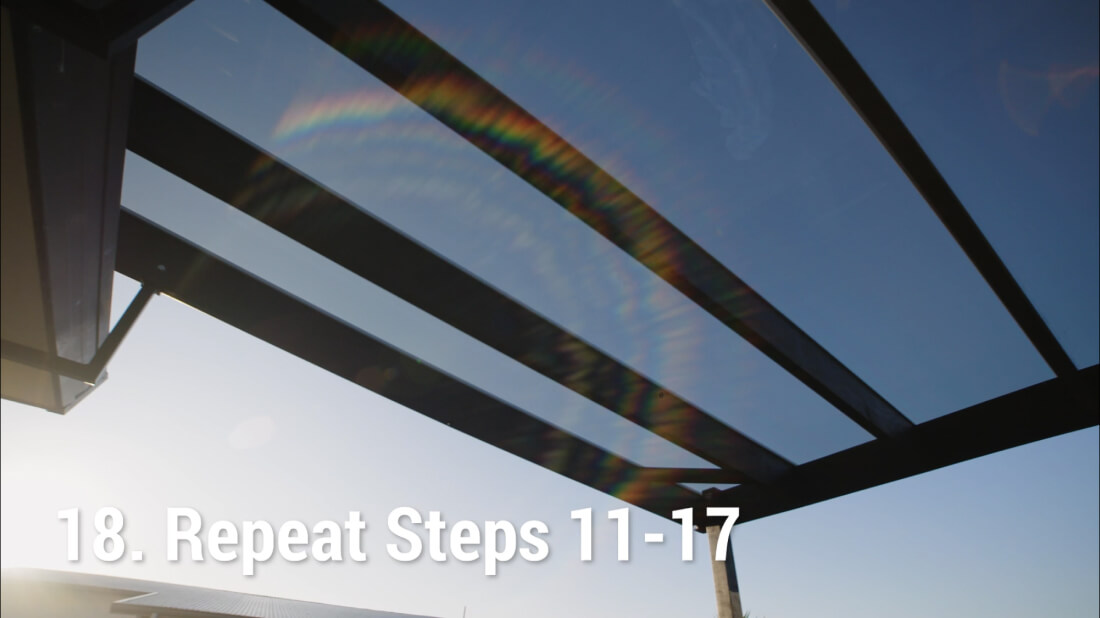
Repeat Steps 11 to 17 if the other end of your roofing structure does not measure accurately to 600mm centre.